How to Remove Sap From Car Paint and Windows: Effective Methods That Work
Dealing with sticky tree sap on your vehicle can be frustrating for any car owner. This natural substance bonds quickly to surfaces and hardens over time, making removal increasingly difficult the longer it remains. Many car enthusiasts invest in regular auto detailing to prevent such issues, but knowing how to address sap problems between professional cleanings is valuable knowledge. This guide outlines several proven methods to safely remove sap from your car's exterior without damaging the paint or glass surfaces, helping you maintain your vehicle's appearance and protect its finish.
Preparing Your Cleaning Supplies
Gather all necessary cleaning supplies before beginning the process of removing sap from your car paint and windows. You'll need gentle car washing soap, clean microfiber cloths, a clay bar kit, bug and tar remover, and a detailing spray. Start by washing your car with soap to remove surface dirt. Next, apply bug and tar remover to the sap spots, following manufacturer's instructions. If sap persists, gently glide the clay bar over affected areas. Finish by applying detailing spray to restore shine and protect the paint. Work in a shaded area and avoid harsh chemicals that could damage your car's finish.
Using Rubbing Alcohol
Rubbing alcohol effectively removes stubborn sap from your car's paint and windows. Dampen a clean microfiber cloth with rubbing alcohol and gently dab it onto sap spots, allowing the alcohol to penetrate the sticky residue. Avoid vigorous rubbing to prevent paint damage. Let the solution sit for a few minutes to break down the sap. Using a fresh microfiber cloth, carefully wipe away the softened sap. Repeat if necessary until all sap is removed. Wash the area with soap and water to eliminate any remaining residue. This powerful solvent dissolves sap without harming your car's surfaces when used properly.
Applying WD-40
WD-40 provides an efficient method for removing sap from your car's paint and windows. Spray a small amount directly onto the sap spots and allow it to sit for a few minutes, giving it time to break down the sticky residue. Using a clean microfiber cloth, gently wipe the sap away using circular motions. Repeat as needed until all sap is removed. Remember to wash the area thoroughly with soap and water afterward to remove any WD-40 residue. When used correctly, WD-40 effectively dissolves sap without damaging your car's paint, making it a valuable tool in your cleaning arsenal.
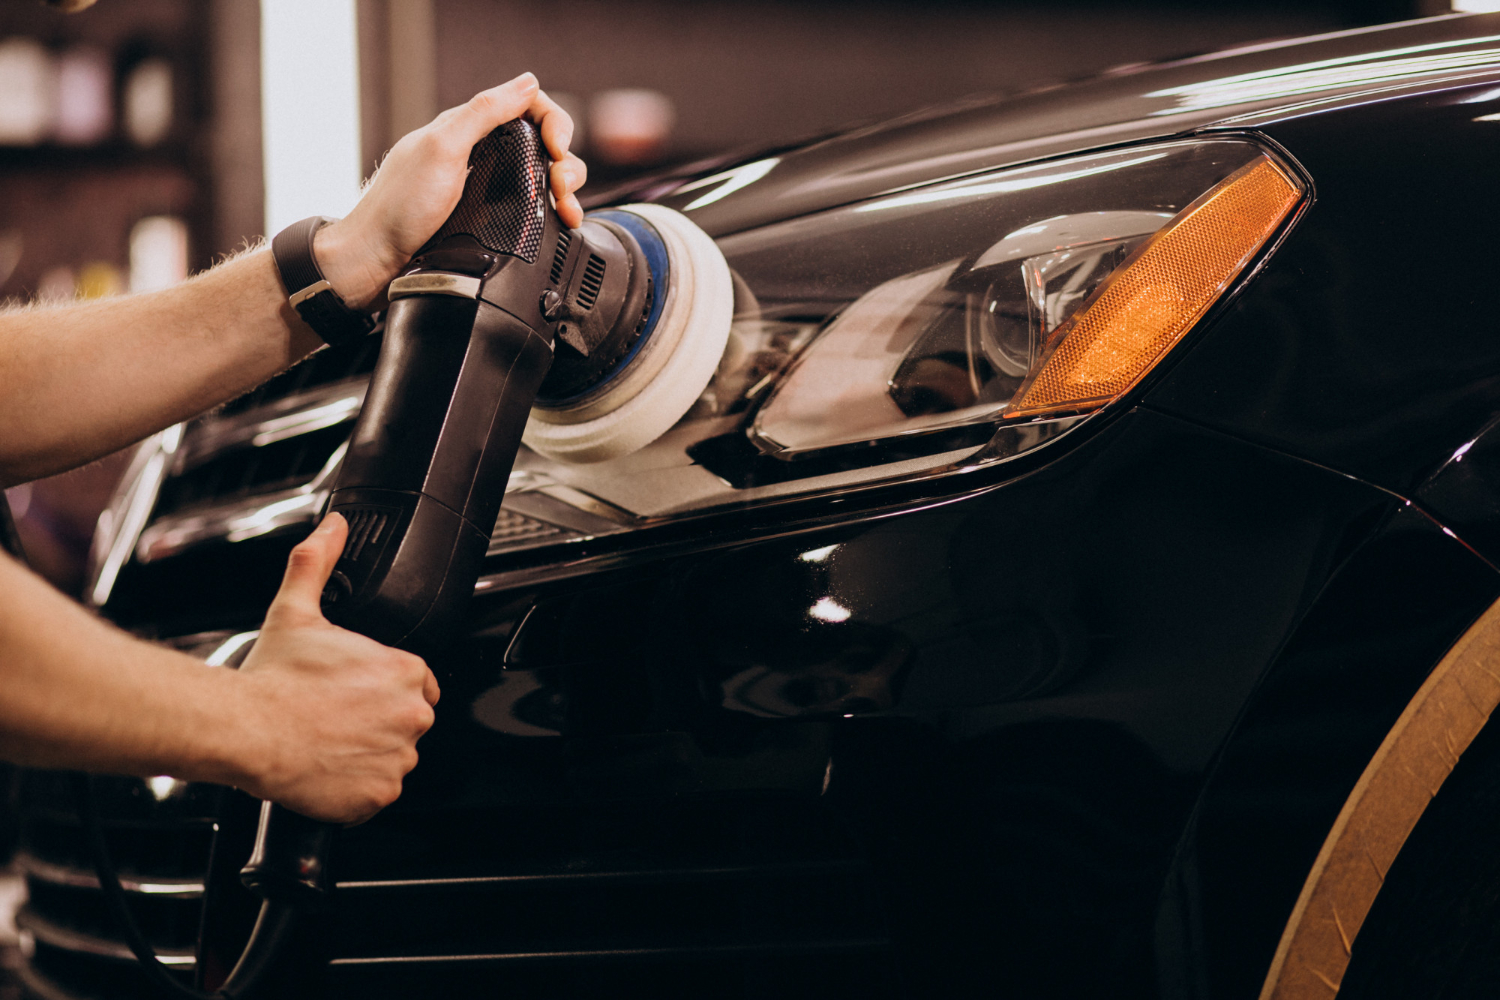
Trying a Clay Bar
For thorough removal of stubborn sap residue, a clay bar offers excellent results without damaging your vehicle's surfaces. Begin with a clean, wet car surface. Knead the clay bar into a flat shape and gently glide it over affected areas. The clay picks up sap residue, leaving your car's paint and windows smooth and clean. Frequently fold the clay to expose a fresh surface for best results. After using the clay bar, rinse your car thoroughly and dry it with a microfiber cloth for a spotless finish. Clay bars are particularly effective for removing embedded contaminants that other methods might miss.
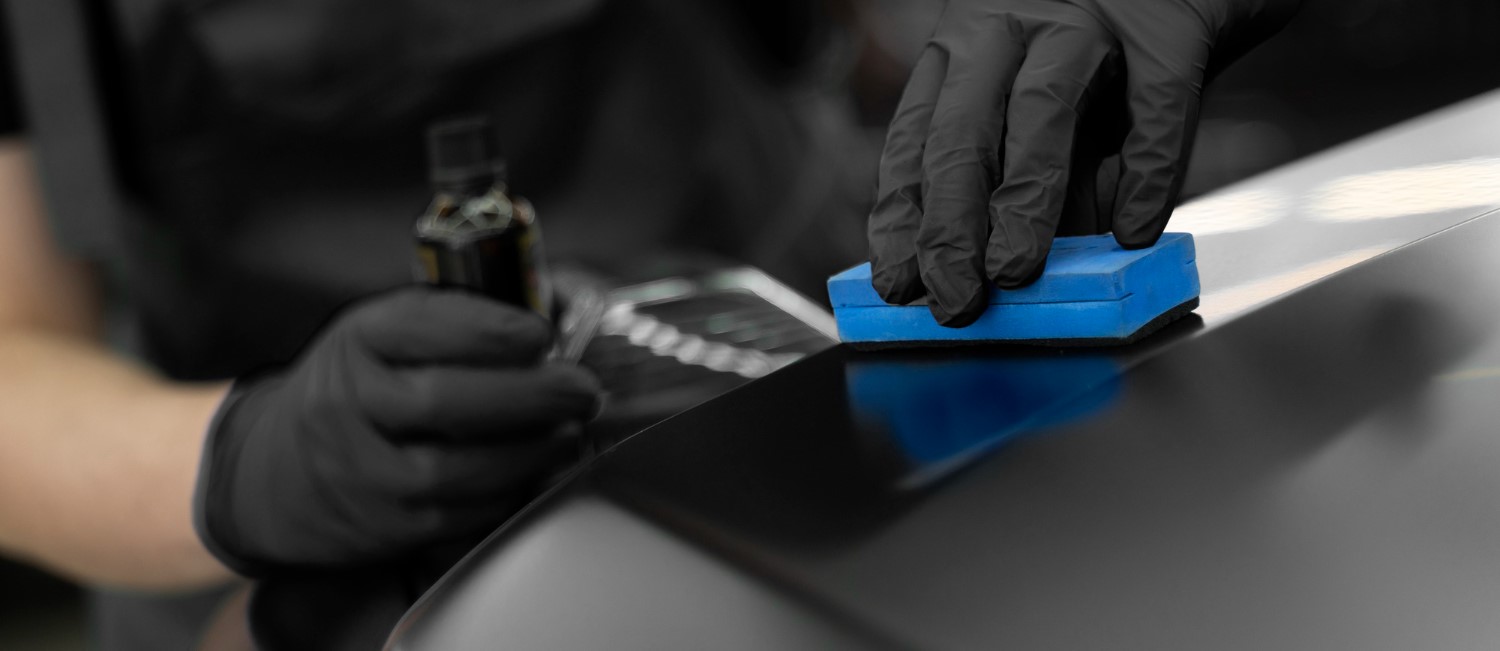
Polishing and Waxing for Protection
Polishing and waxing your car provides an added layer of protection against sap and other contaminants. Polishing removes minor imperfections and restores a smooth surface, while waxing seals the paint, creating a protective barrier. Before polishing, ensure your car's surface is clean and dry. Use a high-quality polish suitable for your car's paint type, applying it with a microfiber cloth in circular motions. Allow the polish to haze before buffing it off with a clean cloth. Follow with wax application, spreading it evenly and allowing it to cure before buffing for a glossy finish. Regular polishing and waxing not only safeguards your car but maintains its shine longer.
Related Topics: