How to Restore Headlights at Home: Step-by-Step Instructions for Crystal Clear Results
Yellowed, foggy headlights not only diminish your vehicle's appearance but also reduce nighttime visibility, creating potential safety hazards. Fortunately, most headlight deterioration can be addressed without expensive auto detailing services through a straightforward DIY approach. This guide walks you through the process of transforming cloudy, oxidized headlights into crystal-clear lenses using materials readily available at most automotive stores. With some patience and the right technique, you can achieve professional-quality results that improve both your car's aesthetics and your driving safety.
Headlight Assessment
Before beginning the restoration process, carefully inspect the headlights to assess the extent of oxidation and damage present. Start by examining the surface for haziness, yellowing, or scratches. Check for any moisture or condensation inside the headlight housing, which could indicate a sealant issue. Use a clean cloth to wipe the exterior to ensure there are no contaminants that could interfere with the restoration. Inspect the lens for deep cracks or pitting that may require professional intervention. Take note of particularly cloudy or discolored areas. This thorough assessment will guide your approach in selecting the appropriate restoration method and lead to a successful outcome.
Gather Supplies
To successfully restore your headlights at home, first gather all necessary supplies for the restoration process. You'll need masking tape to protect surrounding areas, a headlight restoration kit with varying grit sandpapers, polishing compound, and sealant. Have a spray bottle with clean water, microfiber cloths for wiping, and a power drill with a foam pad attachment for polishing. Work in a well-ventilated area and wear gloves to protect your hands. Keep all supplies within reach before starting to maintain efficiency and achieve the best results. Once everything is prepared, you can proceed to the next step of cleaning the headlights.
Clean Headlights
Begin by thoroughly cleaning the headlights using a gentle soap solution and a microfiber cloth to remove dirt, grime, and residue. Mix a small amount of mild soap with water, ensuring it dissolves completely. Dip your microfiber cloth into the soapy water and scrub the headlights in circular motions, paying special attention to areas with heavy buildup. Rinse with clean water and dry completely with a separate microfiber cloth. Avoid harsh chemicals or abrasive materials during this initial cleaning to prevent damage to the headlight surface. Properly cleaned headlights should appear somewhat clearer, creating a solid foundation for the deeper restoration steps that follow.
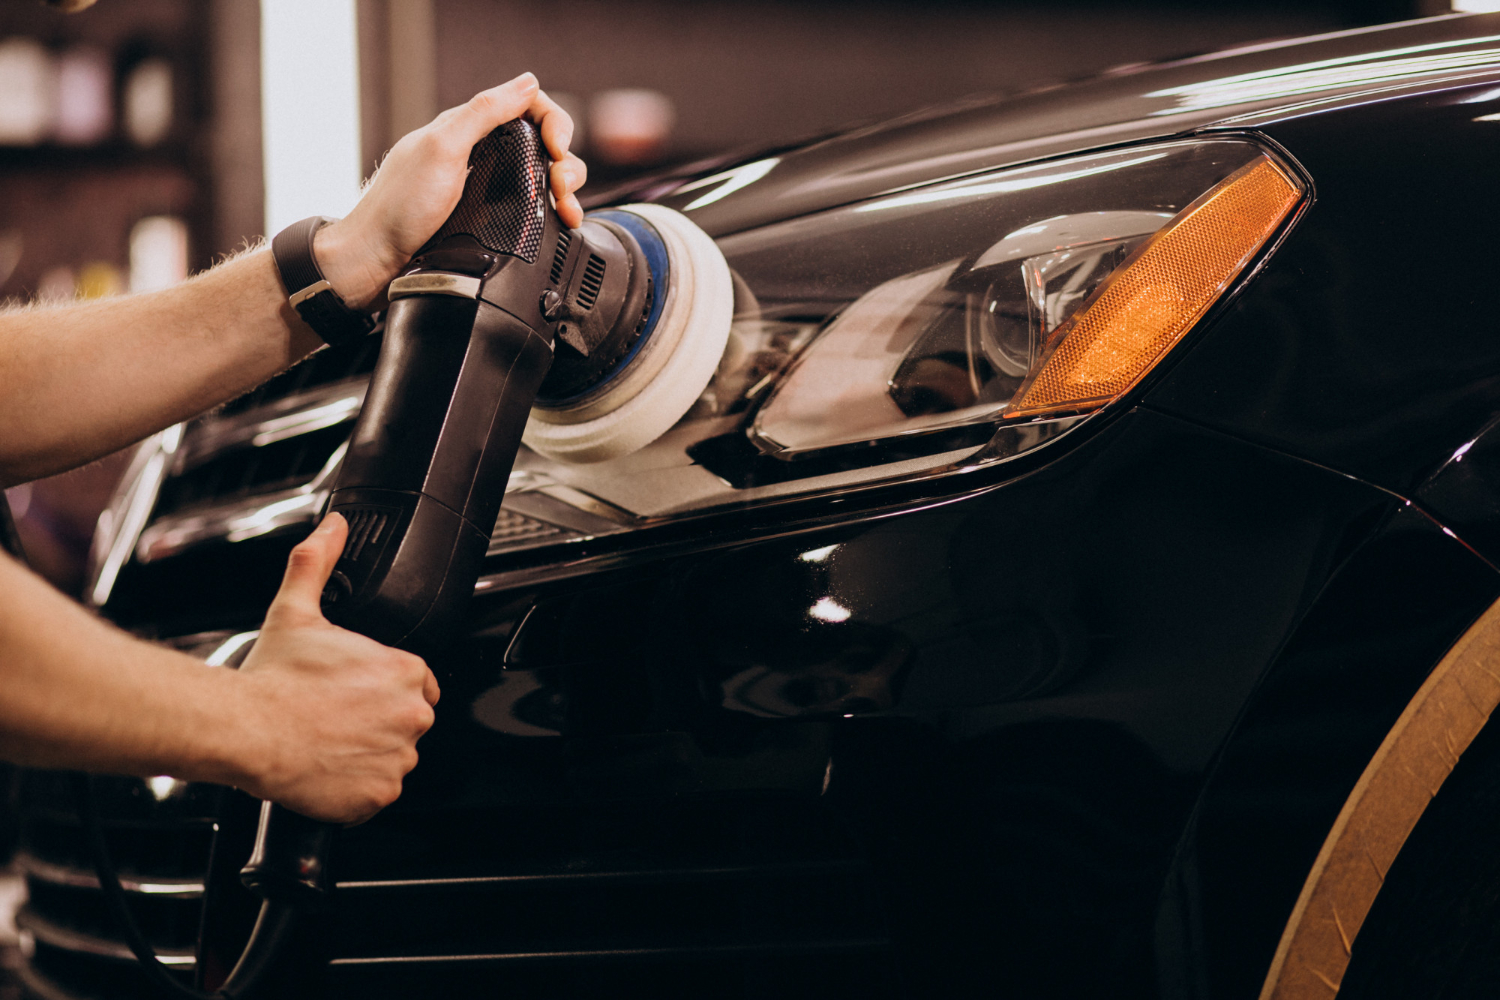
Sanding and Polishing
Prepare for sanding and polishing by ensuring the headlights are completely dry from the cleaning process. Start with low-grit sandpaper (around 800-1000 grit) to remove the top layer of oxidation and scratches. Use back-and-forth motions with light pressure, keeping the surface wet to prevent overheating. Progress to higher grit sandpaper (2000-3000 grit) for a finer finish. After sanding, apply polishing compound with a clean microfiber cloth using circular motions until the headlight appears clear. Repeat if necessary to achieve an even finish. These crucial steps transform the cloudy surface into a professionally restored headlight lens.
Final Touches and Maintenance
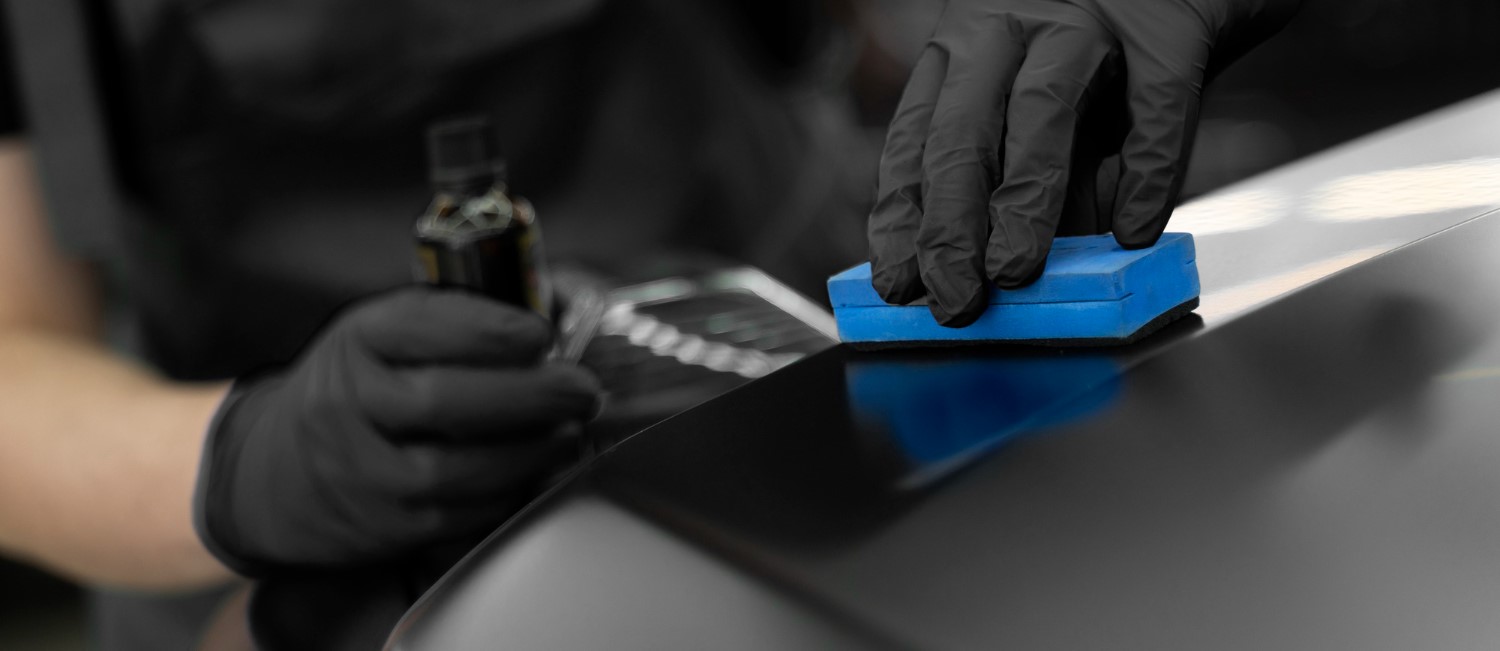
Once the headlights have been properly sanded and polished, final touches and regular maintenance will ensure long-lasting clarity and optimal road visibility. Apply a UV-resistant clear coat to protect headlights from future yellowing and oxidation. Ensure even application and allow complete drying before driving. Regular car washing and periodic application of protective wax will help maintain headlight clarity. Inspect headlights every few months for early signs of haziness or damage. If cloudiness returns, repeat the restoration process before severe oxidation develops. With proper care, your DIY headlight restoration can provide months of improved visibility and enhanced vehicle appearance without requiring professional intervention.
Related Topics: