How to Wax a Car: Simple Steps to Achieve a Smooth, Glossy Finish
Car waxing remains one of the most rewarding aspects of vehicle maintenance, delivering both protective benefits and aesthetic appeal. Whether you prefer doing it yourself or hiring a mobile car cleaning service team to come to your location, understanding the proper waxing technique ensures your vehicle maintains that coveted showroom shine. This guide breaks down the waxing process into manageable steps that anyone can follow, helping you achieve professional-quality results that protect your car's paint while enhancing its appearance.
Gather Your Supplies
To start waxing your car effectively, gather all the necessary supplies in one convenient location. Start by collecting a high-quality car wax, microfiber cloths, applicator pads, and a detailing spray to ensure a smooth finish. Have a hose, bucket, and car wash soap nearby to wash the car before waxing. Working in a shaded area is essential to prevent the wax from drying too quickly in the sun. Make sure the car's surface is clean and dry before applying the wax to achieve the best results. Organizing your supplies beforehand will streamline the waxing process and help you achieve a professional-looking shine that protects your vehicle's paint for an extended period.
Wash and Dry Your Car
Make sure your car is thoroughly washed and dried before proceeding with the waxing process. Start by rinsing your vehicle with water to remove loose dirt and debris. Use a car wash soap and a soft sponge or microfiber cloth to gently clean the exterior of your car, working in sections from the top down. Be sure to pay extra attention to areas like the wheels, fenders, and lower panels where dirt accumulates. Rinse off the soap thoroughly with clean water. Next, dry your car using a soft, clean microfiber towel to prevent water spots. Make sure your vehicle is completely dry before moving on to the waxing step to achieve the best results.
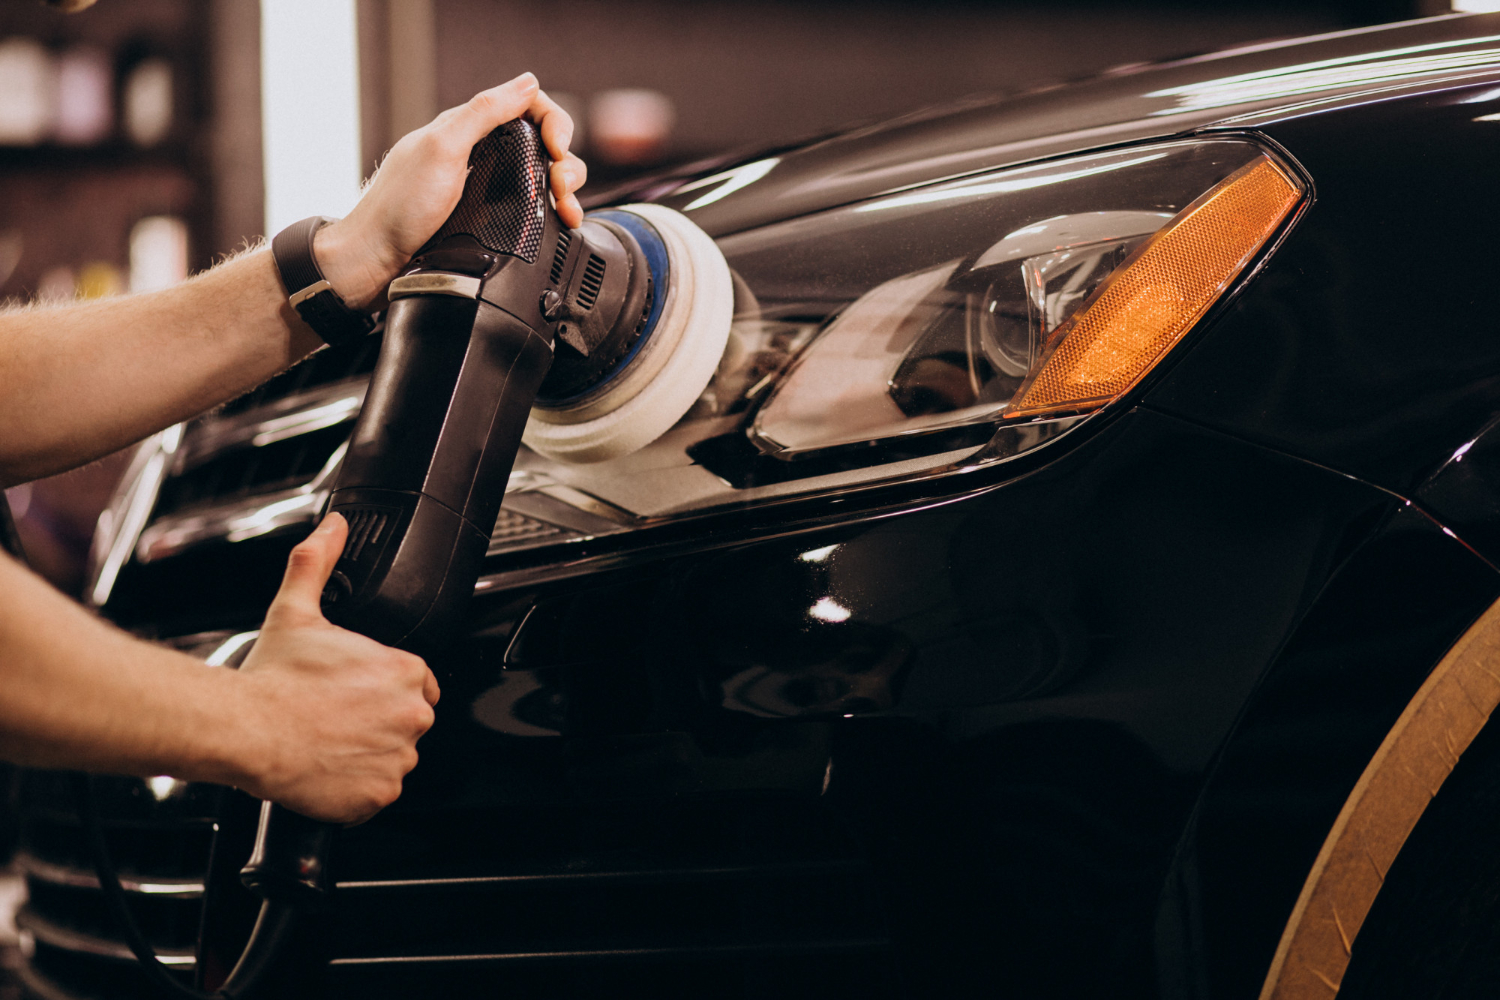
Apply the Wax
Prepare your car's surface by applying a small amount of wax to a clean, dry applicator pad. Start at the vehicle's top and work in small, circular motions. Apply the wax evenly, ensuring complete coverage on the surface. Be careful near plastic trim and rubber seals, as wax residue can be difficult to remove. Remember to work on one section at a time, such as a door or a fender, to achieve the best results. Continue this process until the entire car is covered in a thin, even layer of wax. Allow the wax to dry according to the manufacturer's instructions before moving on to the next step of buffing for a stunning, glossy finish.
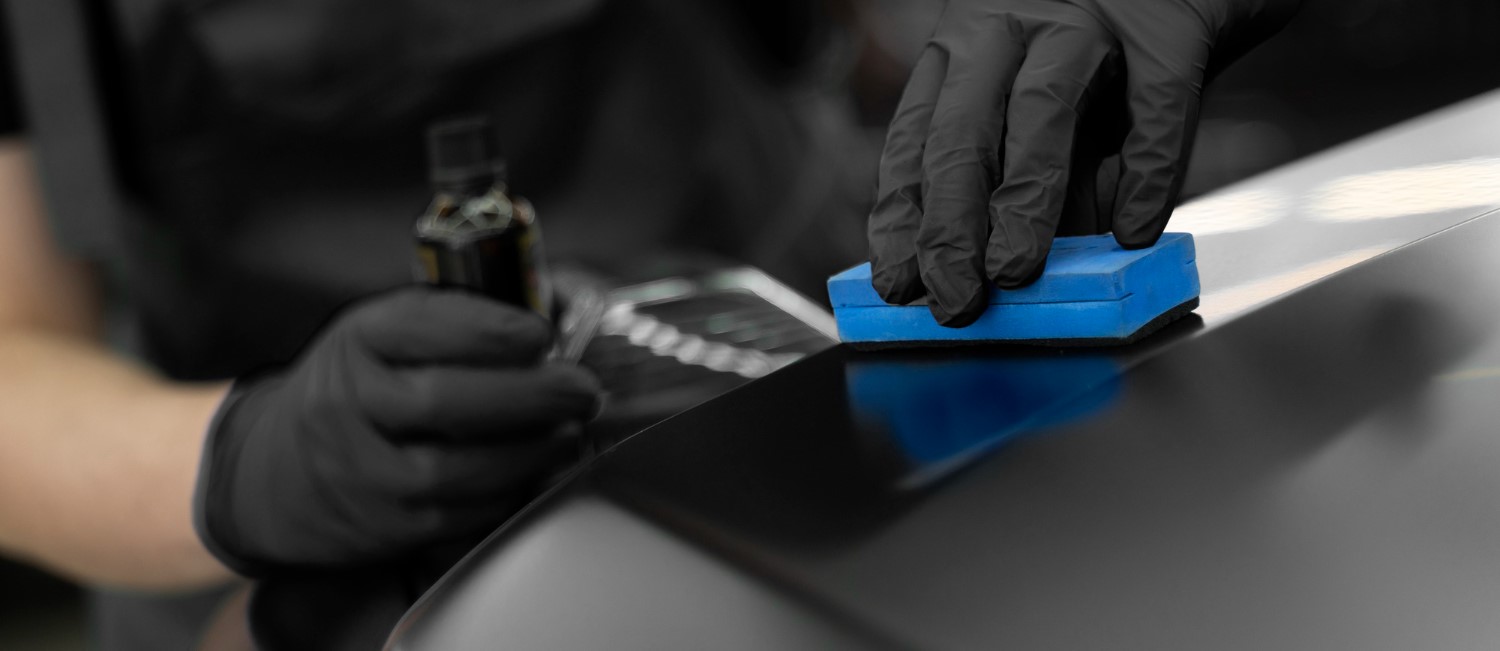
Buff the Wax
Polish the waxed surface using a clean, soft microfiber cloth in small, circular motions to achieve a smooth, shiny finish. This step is pivotal in removing excess wax and evenly spreading the wax for a glossy appearance. Make sure you apply gentle pressure while buffing to avoid causing any swirl marks on the surface. Work in sections, focusing on one area at a time to guarantee thorough coverage and a uniform shine. Check your progress as you go along, looking for missed spots or areas needing extra attention. Remember, patience is essential during this process, as taking the time to buff the wax properly will result in a stunning, professional-looking finish.
Admire the Shine
Now, take a moment to appreciate the brilliant gleam that your meticulously waxed car surface emanates.
- Step back and examine the overall reflection of light on the car's surface.
- Inspect for any missed spots or areas that may require a touch-up.
- Feel the smoothness of the waxed surface with your hand to confirm an even finish.
- Observe how the paint color appears more vivid and rich after waxing.
Admiring the shine is not just about vanity; it also enables you to evaluate the quality of your waxing job and address any necessary adjustments. By dedicating the time to admire the glossy finish, you can ensure that your car looks its finest and stays protected for an extended period.
Related Topics: